- Published on
How to Structure Your ClickUp Workspace for Scalable Client Workflows in 2025
- Authors

- Name
- Will
- @productive_will
I. Introduction
I’ve been through the wringer with task and project management tools. Jira’s overwhelming complexity, Notion’s endless tweaking, Todoist’s bare-bones limits, Pivotal Tracker’s quirks, and even the trusty but chaotic pen-and-paper method. I needed a tool that could handle my daily grind and serve as a single source of truth for my team. After years of trial and error, I've settled on ClickUp, and it’s completely transformed my workflow.
Maybe you’re just discovering ClickUp, or maybe you’ve been using it for a year but your workspace is still a disaster, like your kid's bedroom after a weekend sleepover.
In this guide, I’ll share quick, practical ways to set up your ClickUp workspace like a pro. You’ll get a scalable project structure, a clean split between internal and client-facing tasks, and automations that make your workflow feel like magic.
II. Structuring Client Projects for Scale and Privacy
The Foundation: Designing Your ClickUp Hierarchy
The first step to a smooth ClickUp setup is nailing your folder structure and hierarchy. Get this wrong, and no amount of automations will save you from the chaos.
ClickUp’s hierarchy has three core levels: Space, Folder, and List. Settings at the Space level cascade to Folders and Lists; Folder settings flow down to Lists. This is critical when creating custom fields, so you set them up in the right place from the start.
For client work, I recommend one Folder per client. This gives you flexibility to create multiple specialised Lists within each Folder—like one for tasks, another for documents, or a dedicated List for a major project. Need to add a new project later? Just pop a new List into the existing Folder. It’s also a lifesaver for time tracking, letting you see exactly how much time your team spends on each client, broken down by Folder.
Scalability Caveat: If you’re juggling more than 20 clients or onboarding new ones constantly, consider using one List per client instead. With 100 Folders, you’ll hit Space limits and need to create another Space, which gets messy. For most users, though, a Folder per client is the sweet spot.
When it comes to custom fields, the hierarchy is your friend. If every List for a client needs a specific field (say, “Client Priority”), set it at the Folder level, and it’ll appear everywhere. If your entire Space needs a field—like “Client Email”—set it at the Space level for easy management. I once worked with a client who had four Lists, each with three different custom fields just for the client’s name. Searching for a client was like hunting for a needle in a haystack because everyone used different fields, even within the same List. Don’t make that mistake—standardise early.
Achieving Granular Task Visibility and Privacy
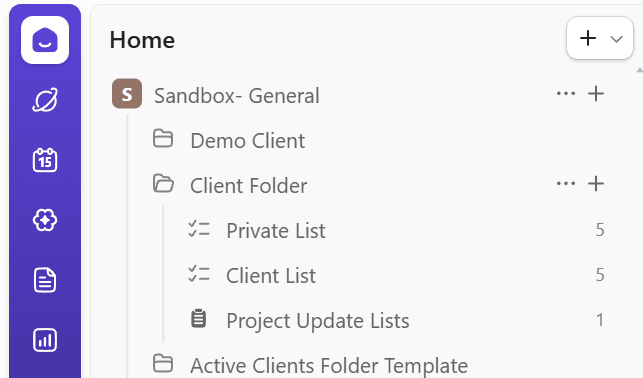
When working with clients in ClickUp, separating internal and client-facing work is key. Within each client Folder, maintain two primary Lists:
- Private List: For internal tasks, team planning, and behind-the-scenes work.
- Public List: Shared with the client, showing only what you want them to see.
You can share the public List as a view-only link or invite clients directly to comment and interact. To make this seamless, create a “Show Client” custom field on your private List. Set up an automation so checking this field automatically adds the task to the public List. This ensures clients only see tasks you’ve explicitly chosen to share—no accidental oversharing.
III. Automating Visibility and Communication
Simplifying Client Communication
ClickUp’s ability to let tasks live in multiple Lists is a game-changer—it’s what powers the “Show Client” automation and eliminates manual copying. Now, let’s make client communication just as smooth.
ClickUp’s built-in chat area can feel like a hidden Easter egg, pulling clients away from tasks and confusing navigation. Instead, embed a direct chat link in your client-facing List using an “any website” view. Clients land on their List, spot a big “Chat” button at the top, and jump straight to their conversation with you—no tab-switching or hunting required.
Alternatively, you can create a client dashboard with a chat card widget for one-stop access. Be warned, though: ClickUp’s shift to centralised chat might phase this out, so the “any website” view is the safer bet for now.
Replicating Basecamp’s Scheduled Updates in ClickUp
I recently helped a client moving from Basecamp, and they were hooked on its scheduled updates feature. Good news: ClickUp can replicate this with automations using the “on schedule” trigger. For example, set an automation to run every Monday at 8:00 AM to:
- Create a reminder task for client follow-ups.
- Send an email with a project status overview.

This keeps you on top of weekly priorities without manual check-ins. Pro Tip: If you have ClickUp’s AI integration, use this automation to trigger the AI agent to pull task statuses and due dates from your workspace and draft a weekly client update. It’s like having a virtual assistant who proactively summarises your progress, saving you time.
IV. Building a Scalable CRM in ClickUp
Designing the Pipeline and Contact Structure
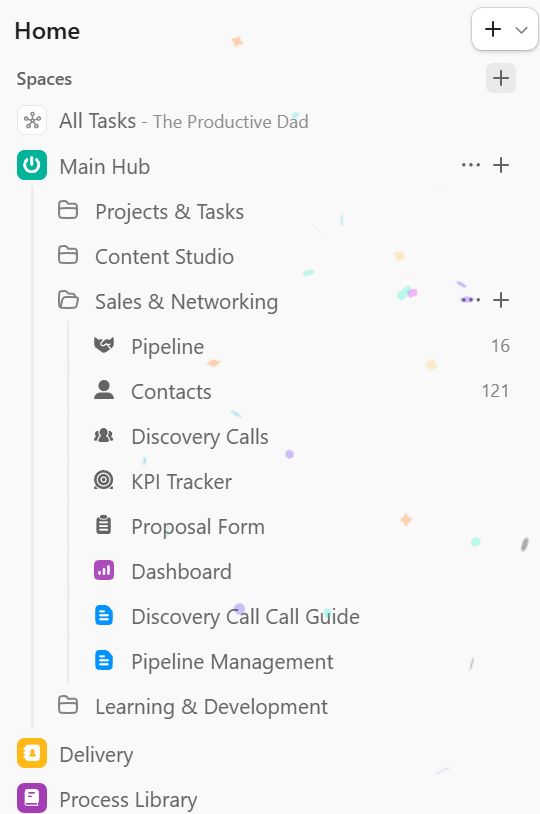
To grow your client base, you need a system to track leads and contacts. I build a dual-list CRM right inside ClickUp’s sales Space:
- Pipeline List: Tracks deal stages like Potential, Qualified, Call Booked, and Closed.
- Contacts List: An address book for everyone you’ve met, with details like phone numbers, company info, and photos. Adding a photo field is my favorite—it instantly jogs your memory of who’s who.

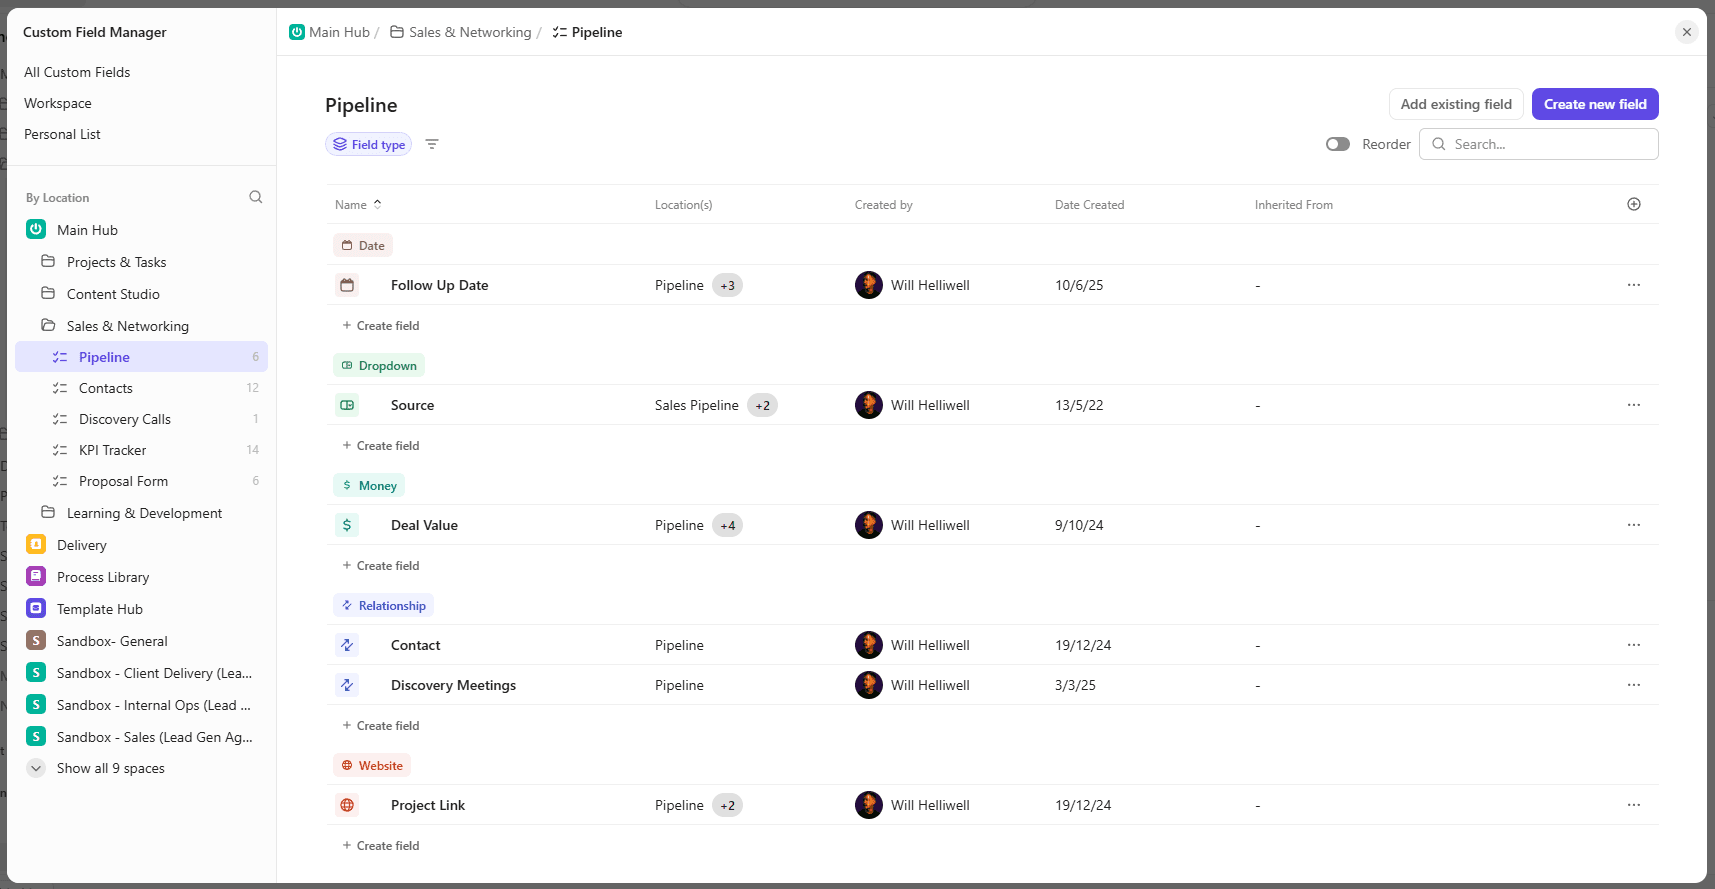
The Contacts List includes everyone, not just active leads, while the Pipeline List is laser-focused on closing deals. To stay on top of leads, add a “Follow Up Date” custom field to the Pipeline List. Set an automation to trigger on that date, adding a comment and assigning the task to you for follow-up. If a lead says they’ll have budget in two months, set the date accordingly—ClickUp will ping you at the perfect time. Consistent follow-ups mean more deals closed.
Linking Leads and Contacts
To keep your CRM tight, connect your Pipeline and Contacts Lists with a relationship custom field. This links each deal to multiple contacts at a company, pulling their details (like email or phone) directly into your Pipeline view. No more digging through comments to find who to call when your main contact is on vacation. For example, if your lead mentions a colleague, the relationship field shows all relevant contacts at a glance, keeping your outreach on track.
V. Conclusion: Your Optimised ClickUp Roadmap
Here’s your ClickUp game plan: Start with one Folder per client and use the dual-list strategy to keep internal and client-facing work separate. Set up dedicated Spaces for sales and general operations to stay organised. The must-have automations—weekly check-ins and lead follow-up reminders—will save you time and keep you proactive. Want more? You can build tons of custom automations tailored to your business.
One last tip to keep your workspace as tidy as a minimalist’s desk: stick to simple task statuses across all Lists—think “To Do,” “In Progress,” “Testing,” and “Done.” Need more granularity? Use custom fields instead of cluttering up with a dozen statuses. With this setup, you’ll have a ClickUp workspace that scales effortlessly and feels like it’s working for you.